I have mentioned in the previous post that Hana Basami is forged like the samurai swords. The sharp blades slice across the florals stems and branches cleanly. And because they are only joined with a loose joint in the middle, the blades can come open easily in a bag which can be dangerous.
I my last post, I have shared two different ways to fold cases for Hana basamis so to keep your “swords” secured. However, if you want something even more compact, a blade cover is a good option too.

You can buy them easily in Japan. Most are made with two pieces of leather (or thick vinyl) with a snap bottom to secure it on the tool. I have already lost two of them! So, I have decided to try to make my own by tracing one of my older one. It is relatively simple with some simple sewing techniques. You can trace around the close blade and make you own patter as well. It is a simple shape.
You need:
Vinyl/ Thick Felt
Needle and thread/ sewing machine
Pins
Marker
Sewn on Snaps / snap maker and plastic snaps

I do not have leather, but I managed to find this craft vinyl from Diaso.
It has one smooth plastic side and a soft felt side which I think is very suitable for this purpose.

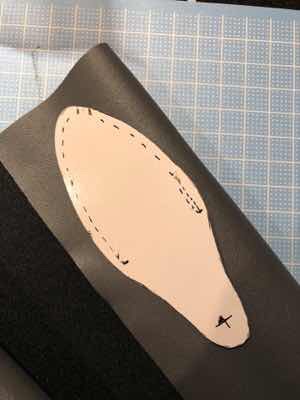
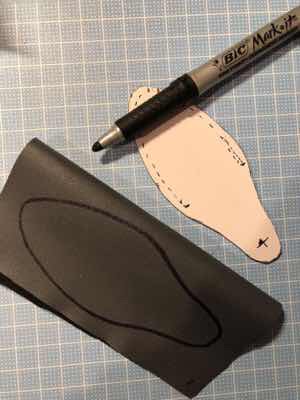
1. Fold your material in half with the with the soft side facing inside. Place your template on top and trace over it with the marker.

2. Cut AROUND the marker line roughly. DO NOT cute precisely around the marker line yet- it would make that very difficult to sew.
3. Pin the two layers together with pins OUTSIDE the out line to secure the two layers of vinyl. If you have pins with a “flat” heads, use them instead, especially if you are to use the sewing machine later. I purchased my pins from Diaso as well.

4. Now sew the layers up. If you are to use a sewing machine, use the marker line to line up with the foot of your machine and set the needle about 2mm off the marker line to sew a line around it.

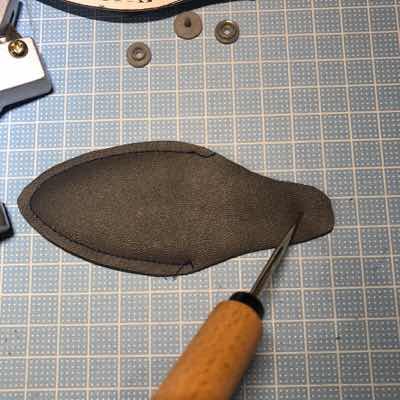
5. Take time to go around curve. Go slowly and lift the foot up every few stitches to change the direction of the sewing line to fit the curve of the cover. When finished, you should get something like this:

6. Now, you can cute the cover out along the marker line.

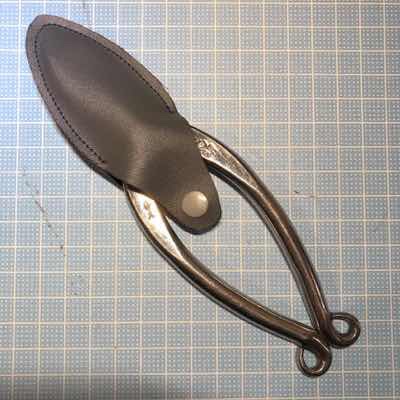
7. I have these KAM snaps pliers at home for other project, so I am going to installed my snaps this way. If you don’t have them, you can easily get sewn on metal snaps and sew them them.

8. Decide where you want you snap by slipping on your hasami for a “fitting”

9. And it is all done. Handy for carrying your hasami around safely!
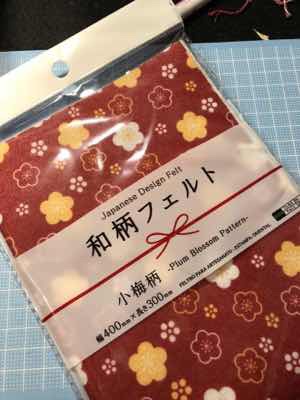
I have also found some printed felt in Diaso which I think is think enough for the cover if vinyl is too hard to find. You can easily purchase thick felt from other craft stores as well. So I used that and made another one.